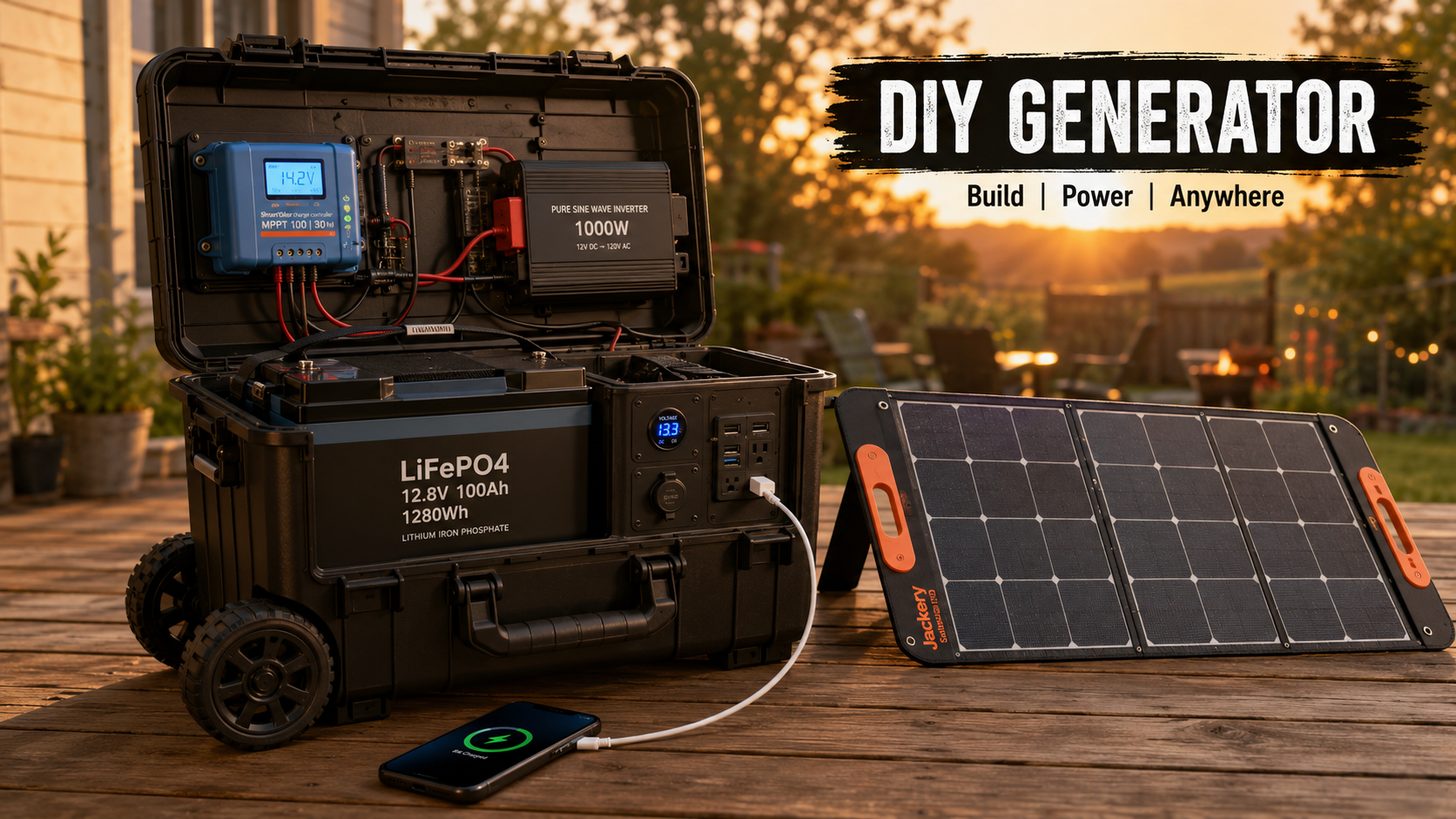
DIY SOLAR GENERATOR
Build a rolling power station from components — more capacity than an EcoFlow DELTA 2, at half the price.
Build a rolling power station from components — more capacity than an EcoFlow DELTA 2, at half the price.
A pre-built EcoFlow DELTA 2 costs around $800 for 1,024Wh. You can build a 1,280Wh system — 25% more capacity — for $400–$600 in components. Plus you get a system you can repair, upgrade, and expand. Swap in a bigger battery later. Add a second solar panel. Replace a single component instead of the whole unit. And unlike sealed power stations, you understand exactly how your system works — which matters when it matters most.
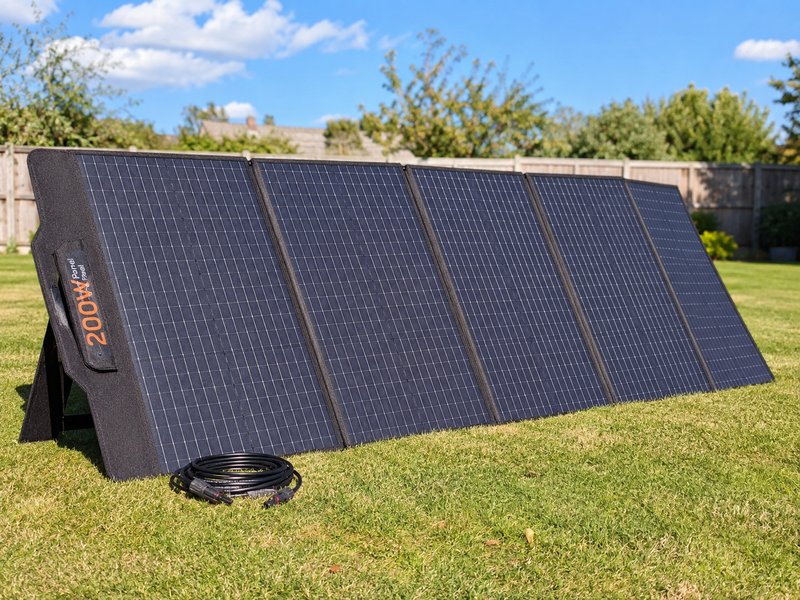
With 1,280Wh of LiFePO4 and a 1,000W inverter, this DIY generator handles: phone charging (80+ charges), laptop charging (10–12 full charges), CPAP machine (2–3 nights), LED work lights (20+ hours), a portable fridge (12–18 hours), power tools for short bursts (drills, jigsaws), a small TV or projector (8–10 hours), and fan or small heater (6–8 hours). The 200W solar panel refills the battery in 5–7 hours of direct sun.
Eight components, all available on Amazon and eBay. Total cost depends on battery and inverter sizing — budget builds start around $300, full-featured builds top out around $800.
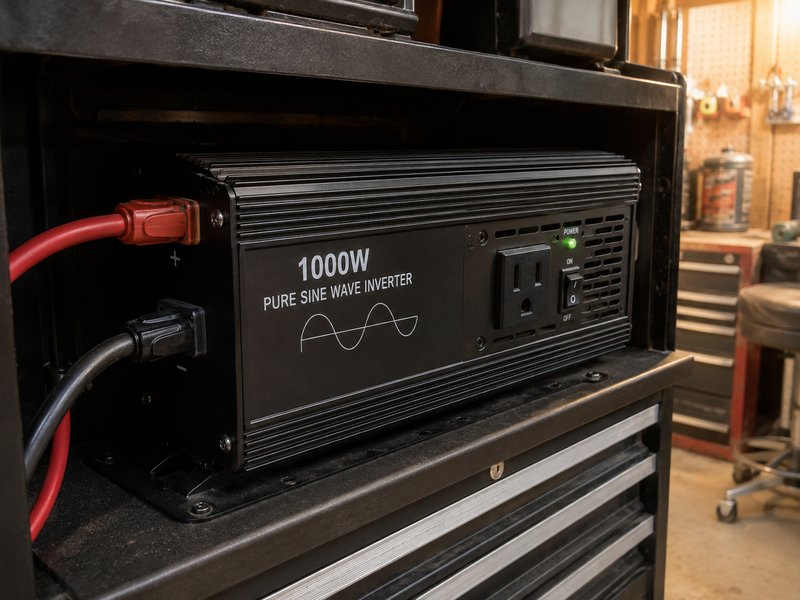
Converts 12V DC to 120V AC for standard household outlets. Pure sine wave is required — modified sine can damage electronics. The GIANDEL 1000W and Renogy 1000W are reliable and affordable. 1000W handles most needs; 1500W adds headroom for power tools.
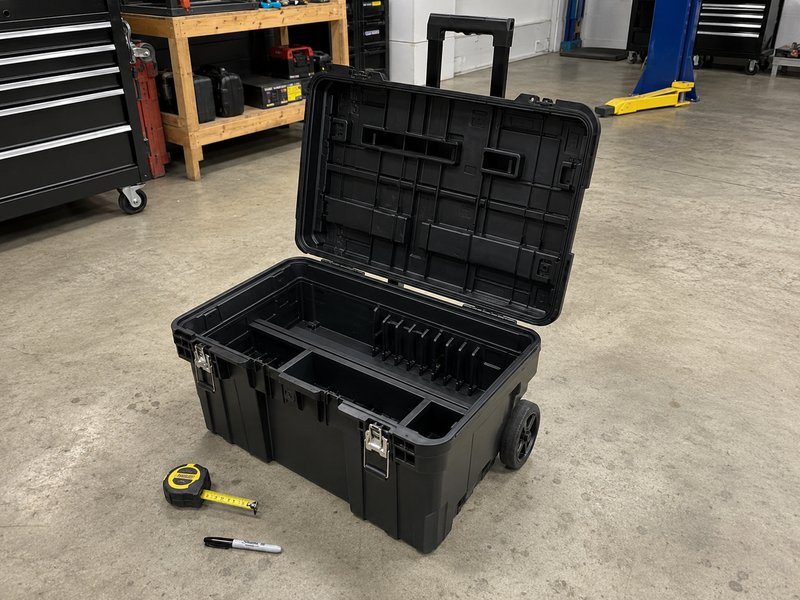
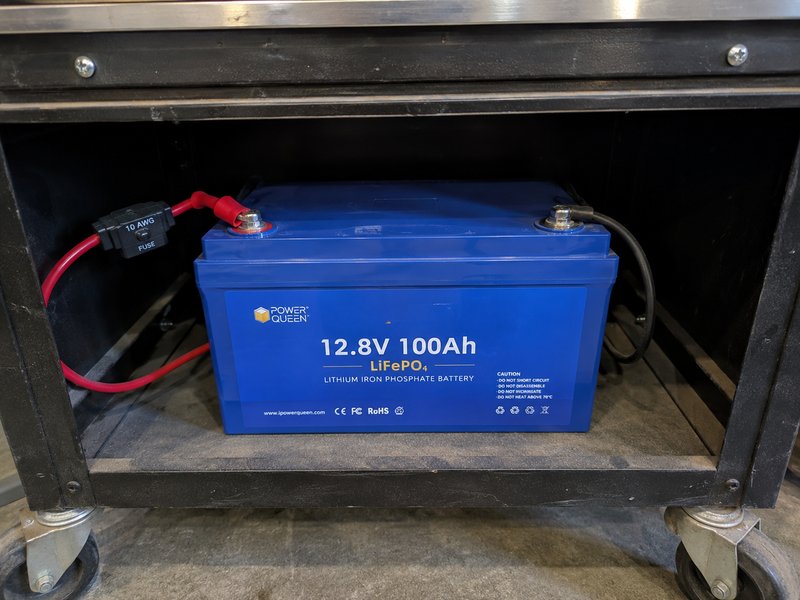
Something sturdy with wheels. A rolling mechanic's toolbox, Pelican-style case with wheels, or even a modified rolling cooler works. The battery weighs 25–30 lbs, so wheels matter. Harbor Freight and Milwaukee make solid options. Make sure the interior fits the battery (roughly 13×7×9 inches for a 100Ah LiFePO4).
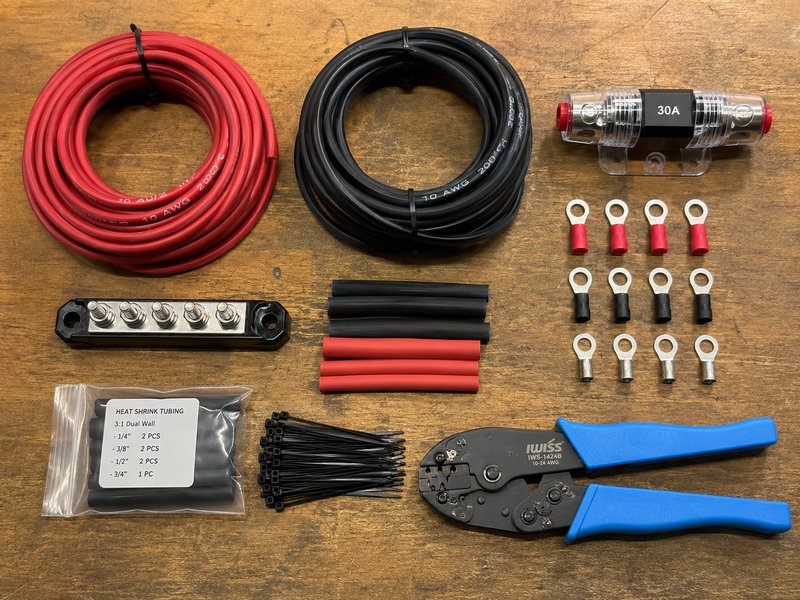
Heavier gauge than the chicken coop build — 10 AWG handles the higher current safely. Grab an inline fuse holder (30A) for the battery positive, ring terminals, and a small bus bar for clean wiring. Heat shrink and zip ties for a tidy install.
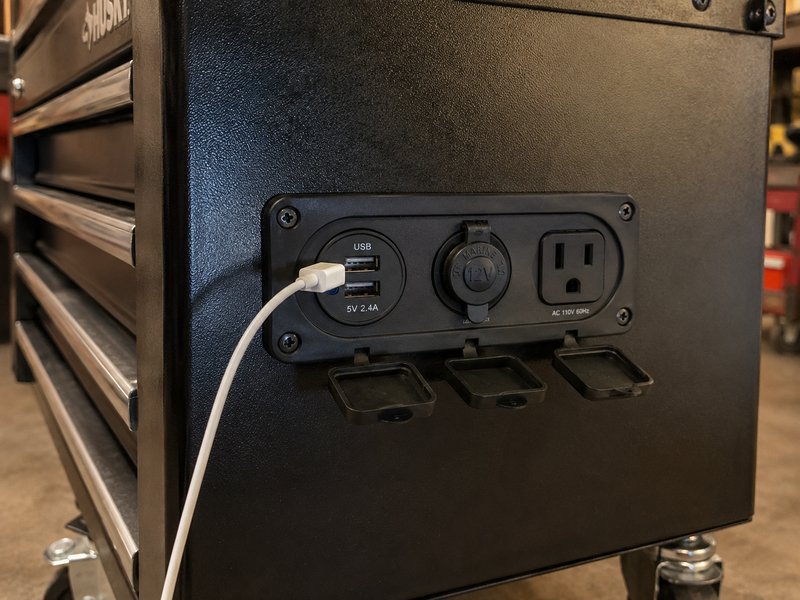
Six steps, 2–4 hours total. No soldering — everything is screw-terminal, crimp, or bolt-on.
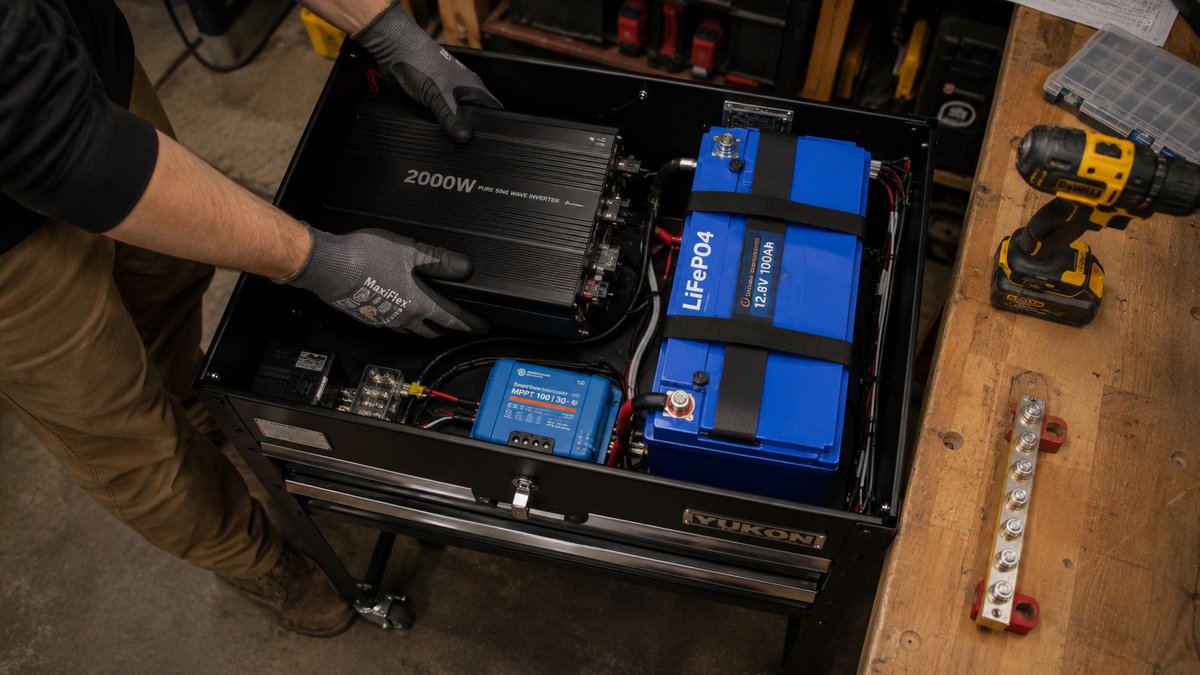
Pick a rolling toolbox or cart that fits the battery (roughly 13×7×9 inches for a 100Ah LiFePO4), the inverter, and the charge controller with room for wiring. Remove drawers or shelves you don't need. Mark cutout locations for the outlet panel and any ventilation holes. The inverter generates some heat, so ensure airflow.
Place the battery on the bottom of the cart — it's the heaviest component and keeps the center of gravity low. Secure it with a strap or bracket so it doesn't shift when rolling. Mount the inverter on an interior wall or shelf above the battery. Keep at least 2 inches of clearance around the inverter for cooling.
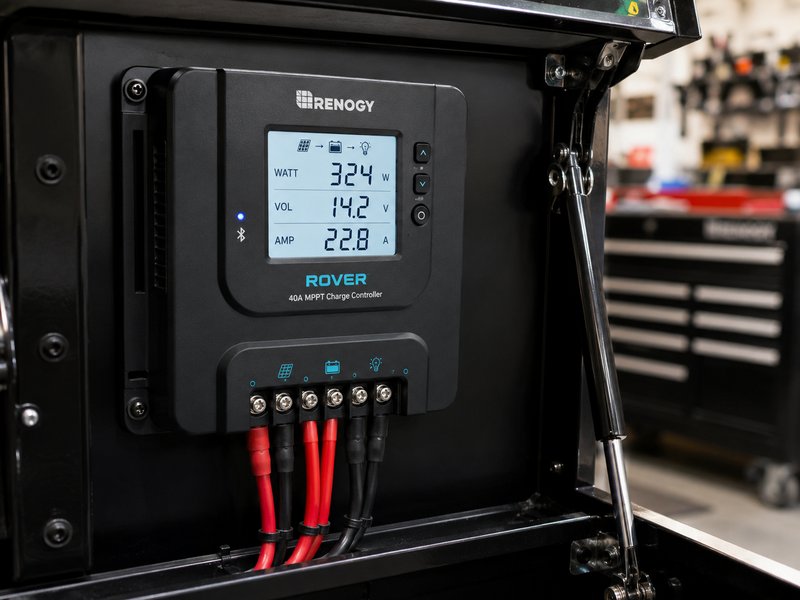
Mount the MPPT controller on the inside wall where you can see the display. Run MC4 cables from the solar panel input port (drill a weatherproof grommet or use a panel-mount MC4 pass-through) to the controller's PV input. Connect the controller's battery output to the battery terminals using 10 AWG wire with an inline 30A fuse on the positive cable. Do NOT connect the panel yet.
Connect the inverter's DC input to the battery using the short, heavy-gauge cables that come with most inverters. If it didn't come with cables, use 8 AWG or 6 AWG for the short run. Fuse the positive cable. Route the inverter's AC output to your flush-mount outlet panel.
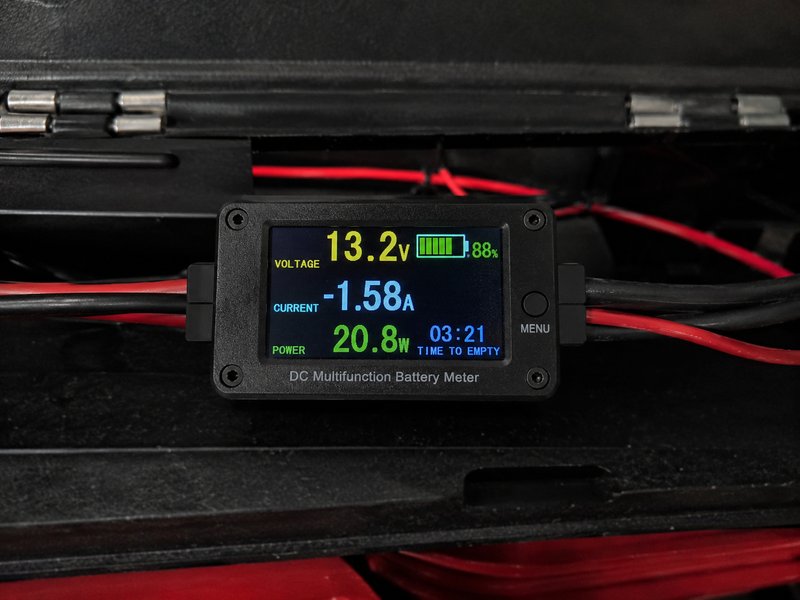
Cut the opening in the side or front of the cart. Mount the marine-grade outlet panel. Wire the USB outlets and 12V socket directly to the battery (through a fuse block). Wire the AC outlet to the inverter output. If you're adding a battery monitor, install it inline on the negative battery cable.
Plug the foldable solar panel's MC4 connectors into the pass-through port. The charge controller should light up and show incoming watts. Test every outlet: plug in a phone (USB), a 12V device, and a small appliance (AC). Check the battery monitor for voltage and charge rate. You're done — you just built a power station.
See our head-to-head comparison of EcoFlow and Jackery power stations.
EcoFlow vs Jackery →If the DIY route isn't your thing, Bluetti makes portable power stations with solar charging, app monitoring, and expandable batteries — ready out of the box.
Browse Bluetti Power Stations →