Why Solar + Greenhouse?
Greenhouses and solar panels share the same resource: sunlight. A single 200W panel turns your greenhouse into a self-regulating growing environment that runs year-round without a utility connection. Automated ventilation prevents the #1 greenhouse killer — overheating — while grow lights and thermal mass extend your season through winter. The result is a greenhouse that manages itself: fans kick on when it's hot, lights supplement when days are short, and you check conditions from your phone instead of walking out in the rain.
Component List
Build Steps
Mount the Solar Panel
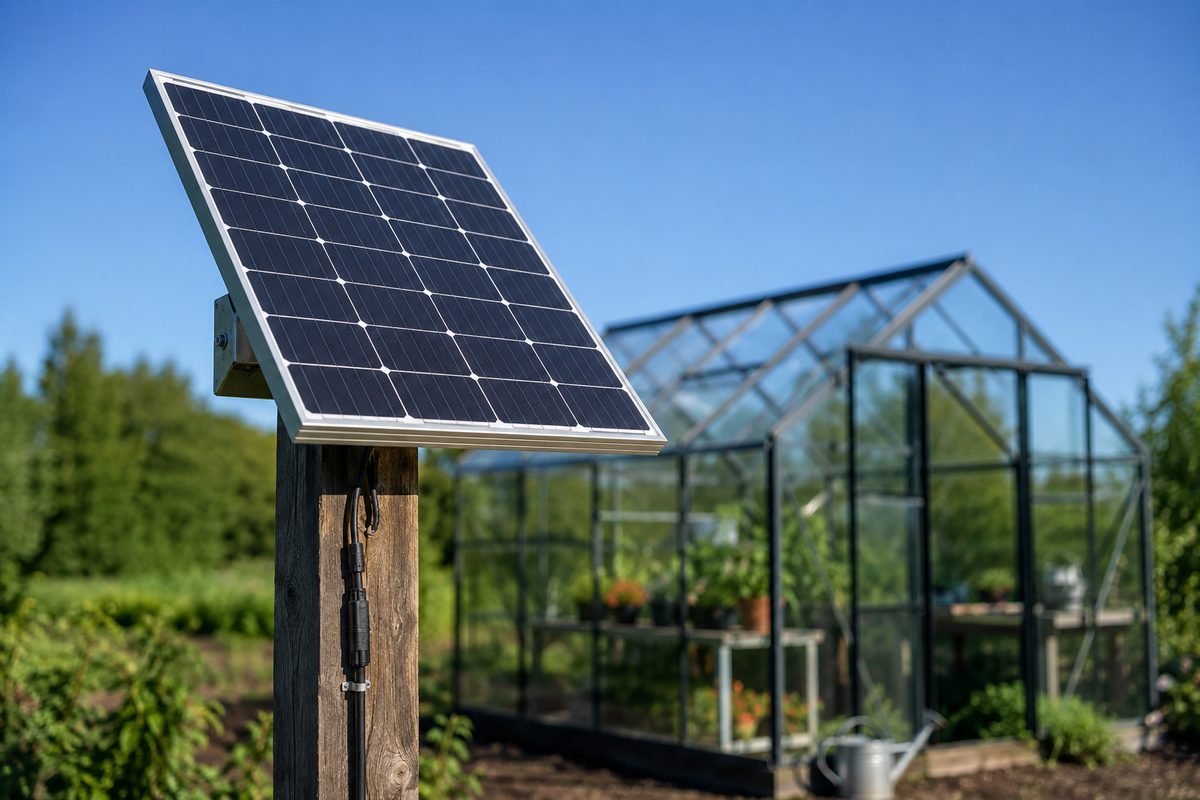
Attach the 200W panel to the greenhouse roof ridge or on a post beside the greenhouse. South-facing, angled for your latitude. Run MC4 cables through a sealed entry point into the greenhouse's utility area — a shelf, corner, or small weatherproof box near the door.
Set Up Battery and Controller
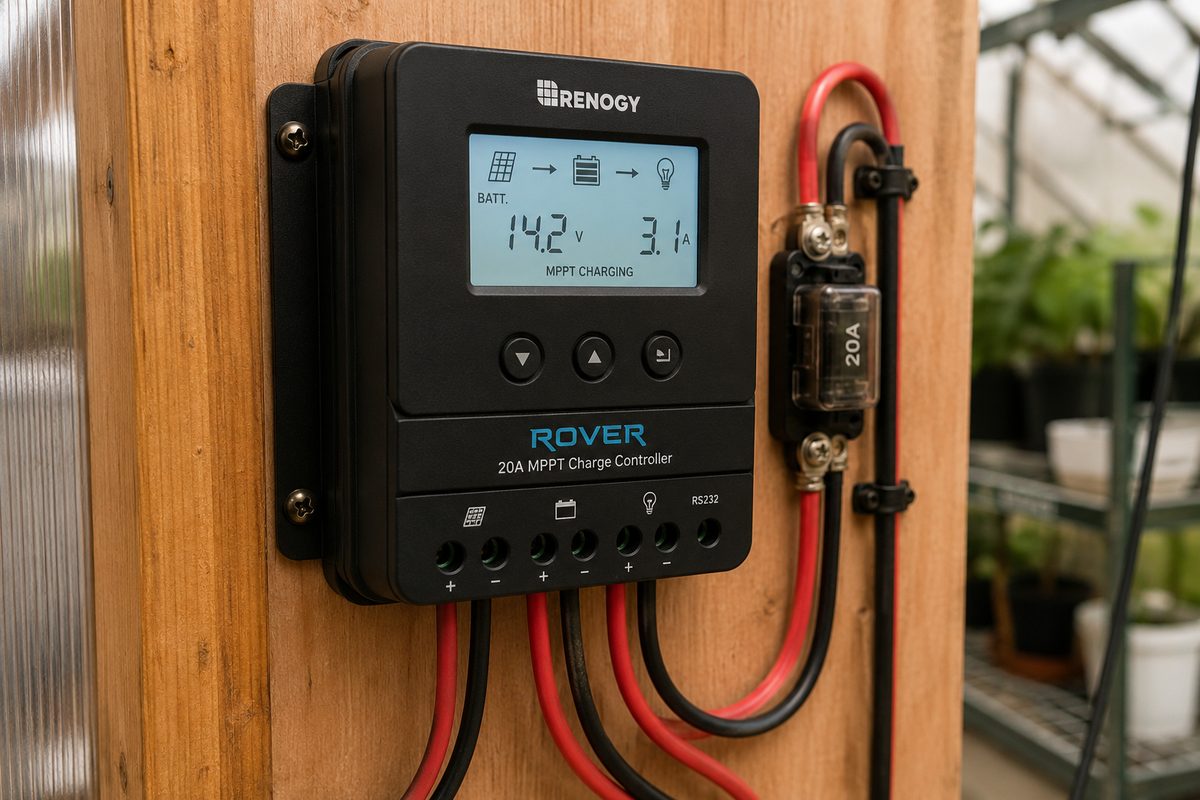
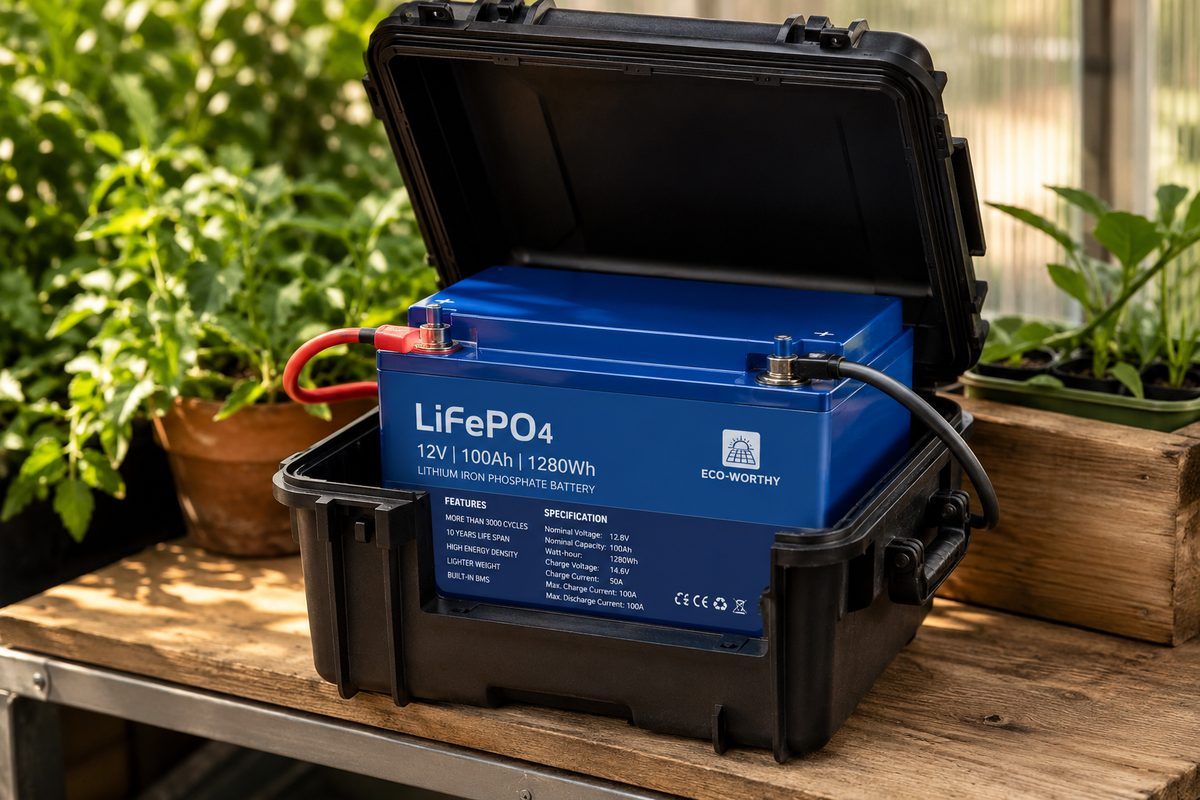
Mount the charge controller on the interior wall. Connect the battery to the controller's battery terminals, then connect the solar panel. Place the LiFePO4 battery off the ground on a shelf — greenhouses get humid, and moisture pooling is the enemy. A waterproof container or bag adds protection.
Install Ventilation Fans
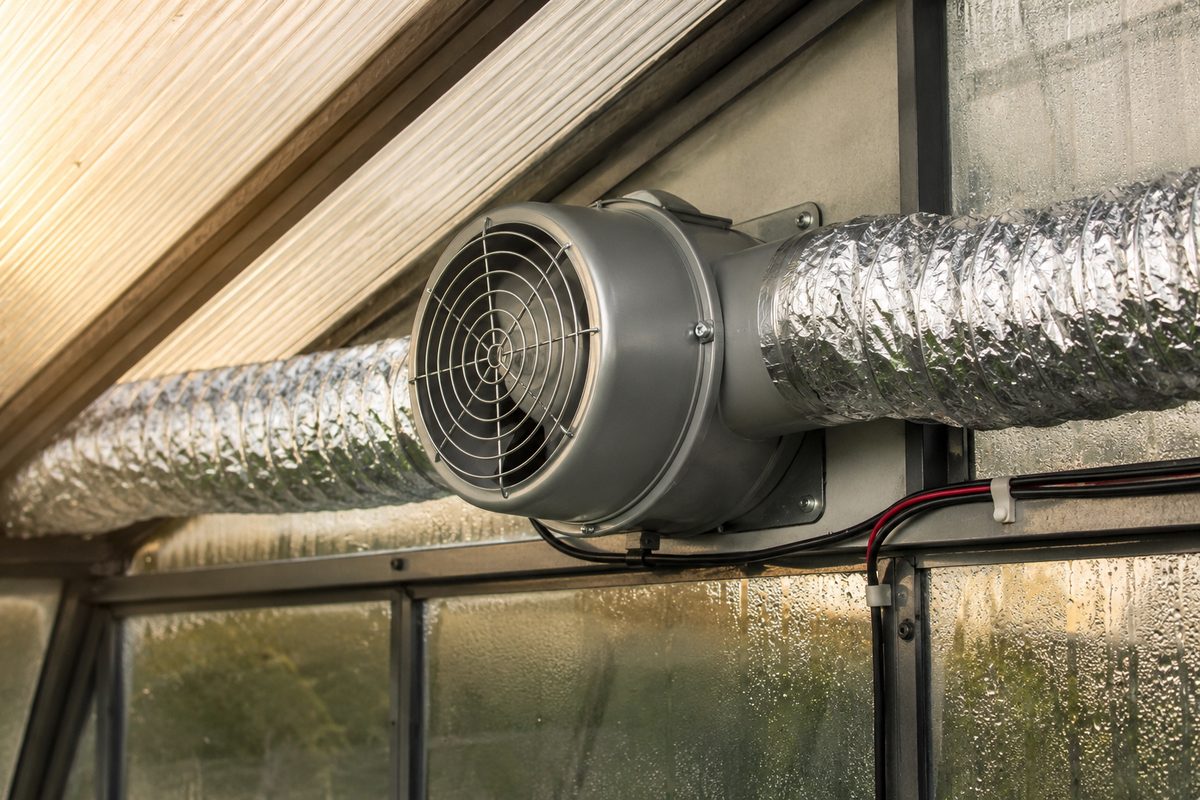
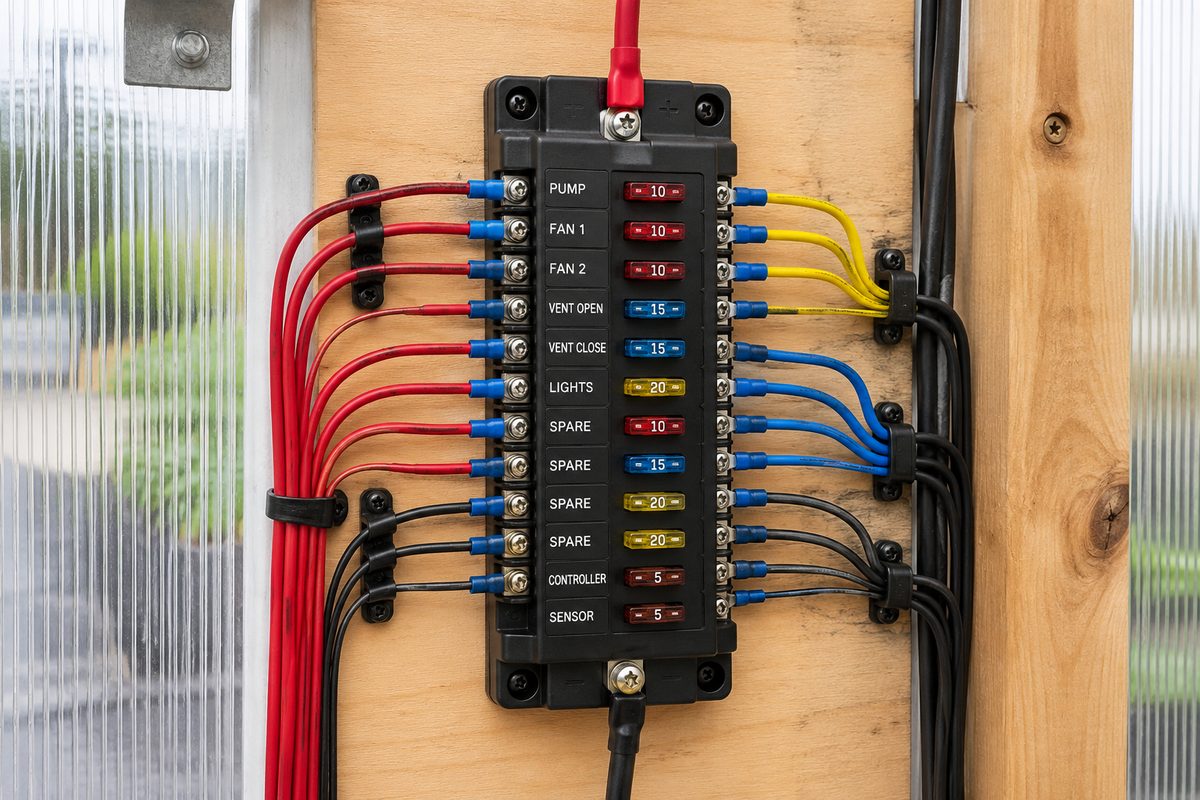
Mount the intake fan low on one end wall, and the exhaust fan high on the opposite end wall. This creates cross-ventilation that mimics natural airflow. Wire both through a 12V thermostat controller set to activate at 85°F (adjustable). Connect to the charge controller's load terminals or directly to the battery through the fuse block.
Add Grow Lights and Timers
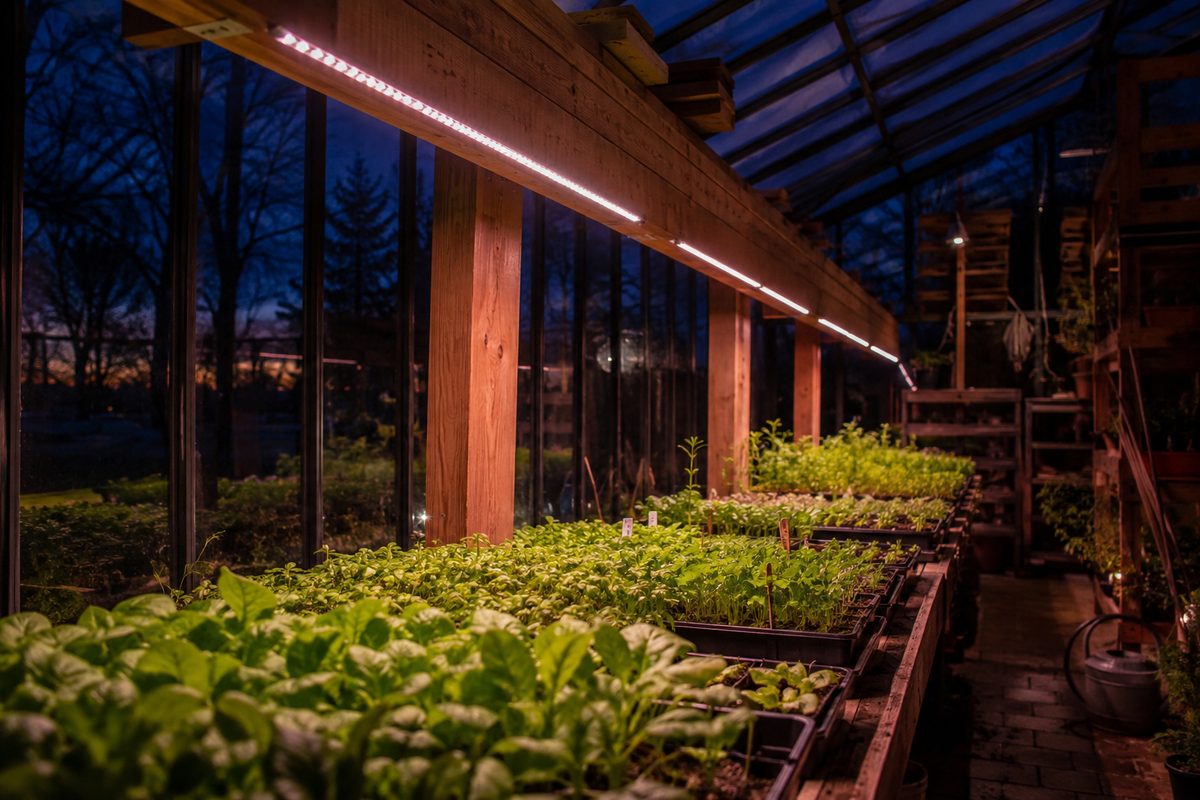
Mount LED grow strips along the ridge beam or on horizontal supports above your growing tables. Wire through a 12V timer — set to extend daylight to 14–16 hours during winter months. In summer, the timer can be off entirely. Total draw is minimal — a few watts per strip.
Install Monitoring and Passive Systems
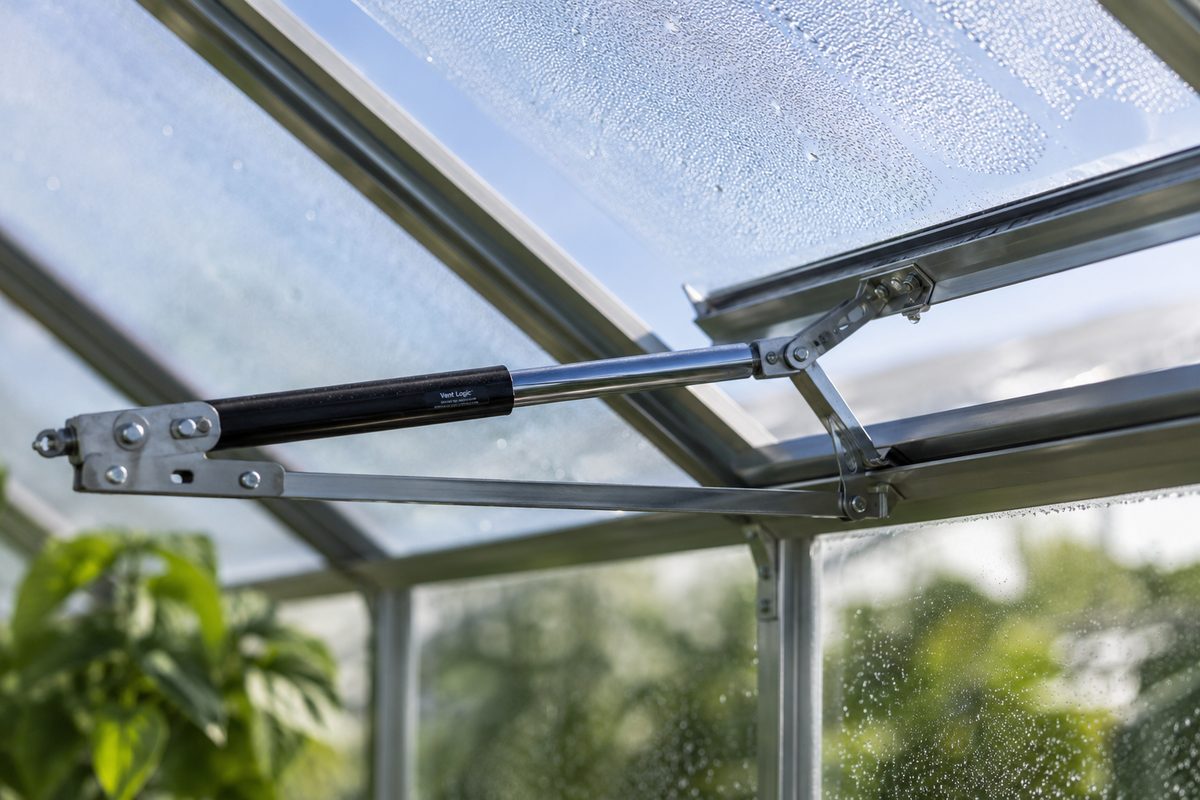
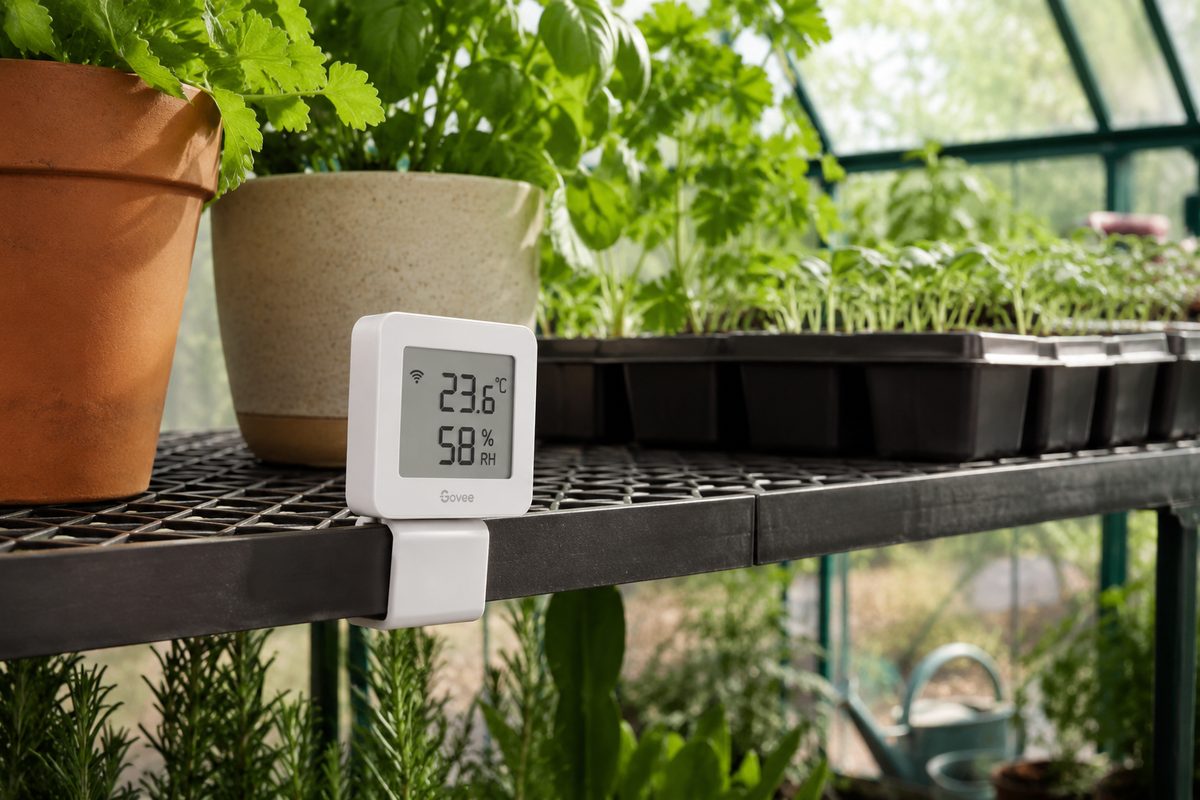
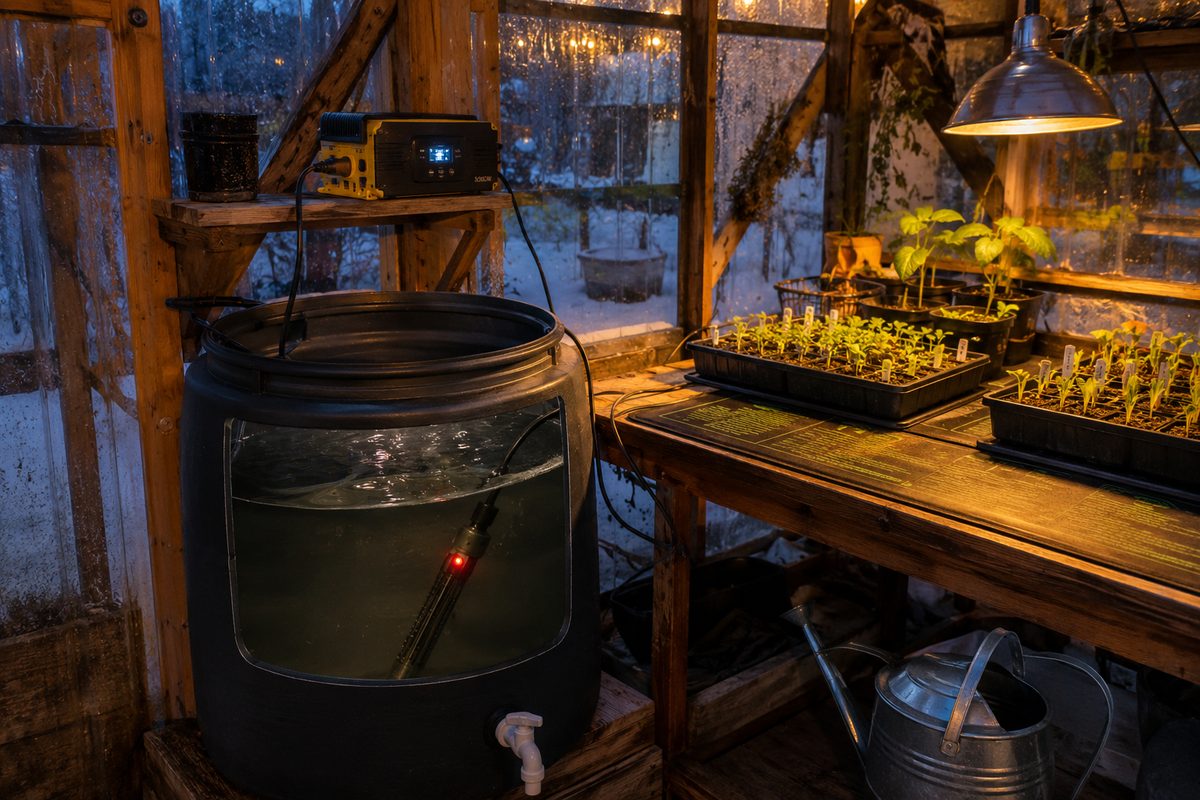
Place the WiFi temperature/humidity sensor centrally, at plant height. Install automatic wax-cylinder vent openers on the roof vents as backup ventilation. If using a heated water reservoir, fill a 5-gallon barrel with water and place the submersible heater inside — set to maintain 50°F minimum. The thermal mass alone helps stabilize overnight temps.
Test and Tune
Run the system for a full day/night cycle. Check that fans kick on at your target temperature and shut off when it cools. Verify grow lights follow the timer schedule. Monitor battery level overnight — you should have plenty of margin with 50Ah. Adjust thermostat setpoints and timer schedules by season.
🌱 Seasonal Tips
- Summer: Set exhaust fans to 80–85°F. Open manual vents. The wax-cylinder auto-vents handle the rest.
- Winter: Enable grow lights on 14-hour timer. Activate heated water reservoir. Close all vents. The thermal mass stabilizes overnight temps 10–15°F above ambient.
- Spring/Fall: The sweet spot. Fans on low, lights off, vents cracked. The panel charges fast and the battery barely draws down.
- Camera add-on: A solar WiFi camera (Reolink Argus) lets you check on seedlings remotely — see our camera picks.